How to Install a Ceiling Light Fixture: A Step-by-Step Guide for DIYers
Installing a new ceiling light fixture can brighten up a room and change the ambience. But for many DIYers, wiring and mounting a new light can be daunting. Have no fear! This Guide on How to install a ceiling light fixture will make you like a pro with the right tools and safety precautions.
An Introduction to Ceiling Light Installation
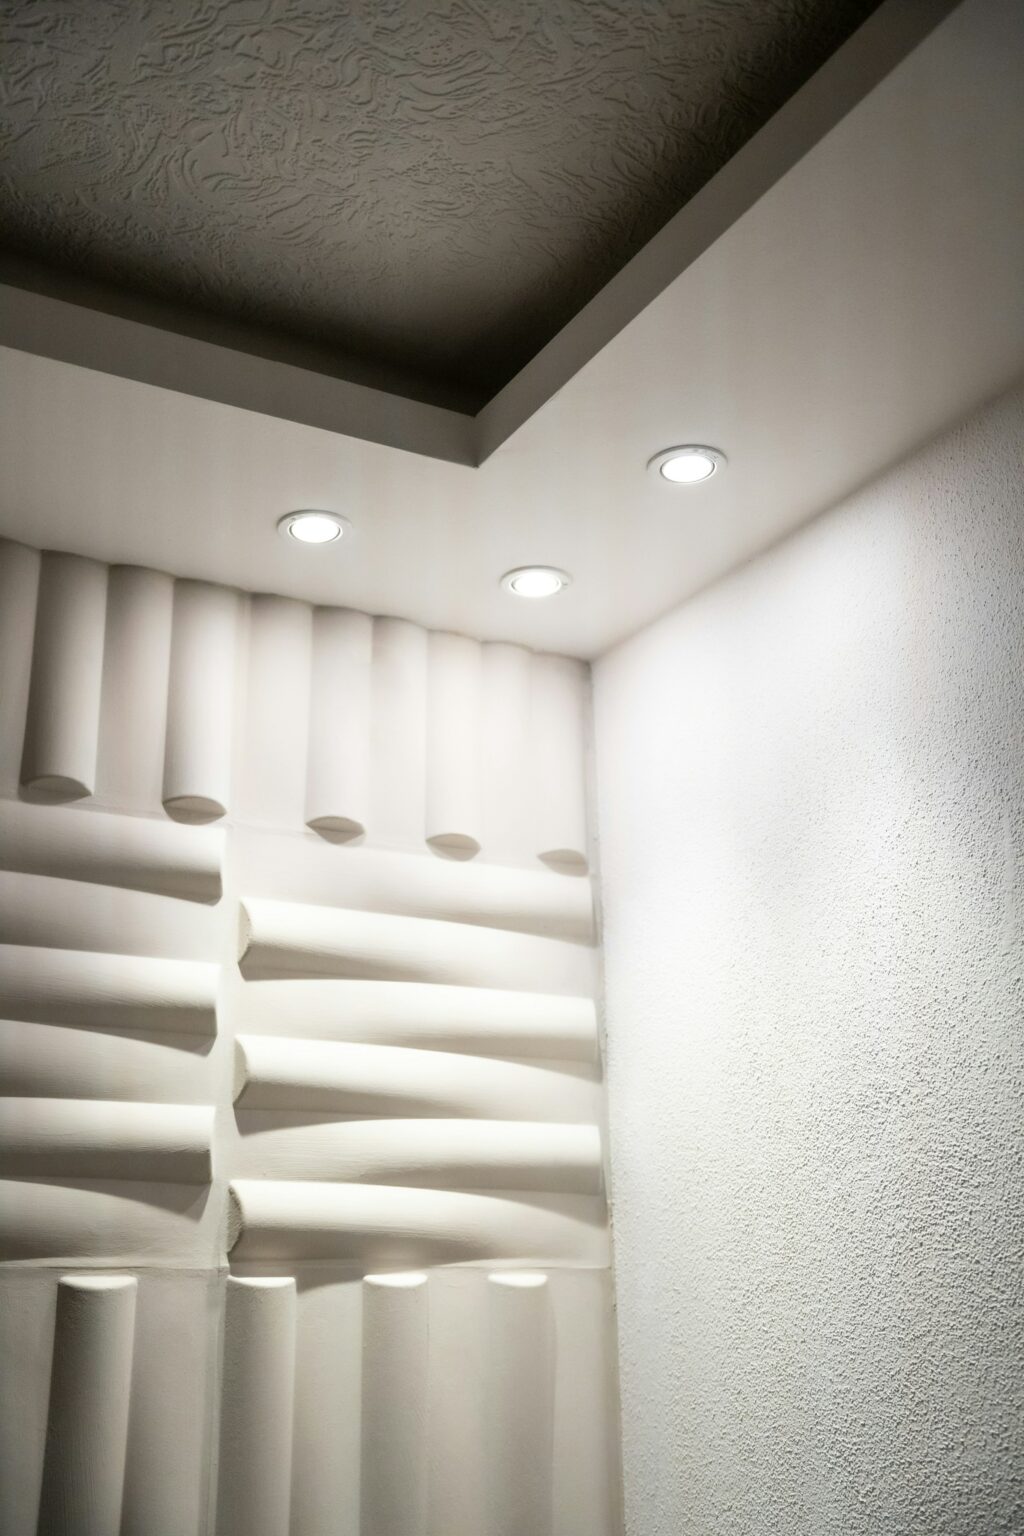
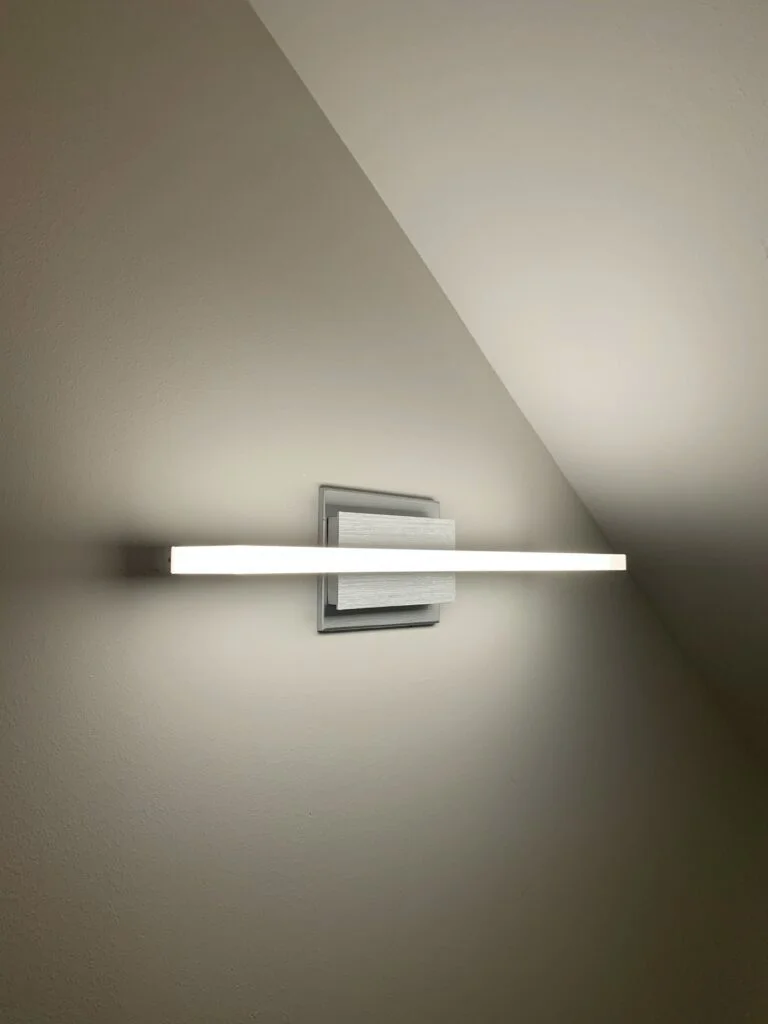
Overhead lighting serves both practical and aesthetic purposes in home decor. Flush mount ceiling lights provide ambient illumination, while pendant lights and chandeliers add elegance and style. Replacing an outdated or non-functioning ceiling fixture with a new one can entirely transform the look and feel of a space.
However, working with electrical wiring requires care and attention to detail. Safety should always be the number one priority when dealing with any electrical project. Making sure the power is disconnected is crucial before touching any wires. Additionally, only work on small electrical projects like light fixtures if you feel completely comfortable doing so. When in doubt, call a professional electrician.
However, installing a ceiling light with the right tools and mindset can be an extremely gratifying DIY project! This step-by-step guide will walk you through the entire process.
How to Install a Ceiling Light Fixture:
Step 1: Turn Off the Power
Before removing the old light fixture, you need to shut off the power to avoid getting shocked. Find the breaker box, and flip the switch that controls the overhead light you want to replace.
Try flipping the light switch on and off to double-check that the power is off. Also, use a non-contact voltage tester near the wires to confirm that electricity is no longer running to them. Safety first!
Step 2: Remove the Old Ceiling Light Fixture
First, remove any glass domes, diffusers, lightbulbs, and other decorative elements from the existing fixture. It prevents anything from accidentally breaking or falling during this step.
Have a helper hold the fixture base steady as you unscrew it from the electrical box in the ceiling. Many fixtures are quite heavy, so an extra set of hands here makes a big difference!
Slowly lower the fixture away from the ceiling, being careful not to tug on the wires too much. You may need to unscrew a few more parts to fully detach the fixture from the ceiling and expose the wiring.
Place the old fixture aside and install the new one!
Step 3: Inspect the Wires
Look closely at the wires coming out of the ceiling electrical box. There should be a white neutral wire, a black hot wire, a ground wire, and possibly a fourth bare copper grounding wire. Make sure none of the wires are damaged or frayed.
If the electrical box looks damaged, it’s best to call an electrician to inspect and replace it. A sturdy electrical box is crucial for safely mounting the new ceiling light.
Step 4: Install the Mounting Bracket
Most light fixtures include a mounting bracket that attaches to the electrical box as a base to mount the fixture onto. Hold the bracket up to the ceiling and use the included screws to secure it to the box.
Ensure all the ceiling wires are fed properly through the centre of the bracket. You want them to hang freely to connect to the new fixture’s wires.
Step 5: Connect the Wires
Now comes the fun part – wiring! Match each wire from the ceiling to its corresponding wire on the new light fixture.
Connect the black (hot) wires together, the white (neutral) wires together, and the grounding wires together. Secure each connection by twisting a wire nut over it clockwise.
To ensure a tight connection, tug gently on the wires and ensure they don’t come loose. Nothing is worse than faulty wiring leading to a flickering light!
Step 6: Mount the Fixture
Raise the new ceiling light fixture up towards the installed bracket. Line up the holes on the fixture’s base with the bracket, and insert the provided screws to mount it.
Have a helper hold the weight of the fixture as you work on getting the screws tightened. Wait to let go until you’re sure the fixture is firmly secured!
Step 7: Add the Bulbs and Glass Covers
You’re almost done! Install the recommended light bulbs, and reattach any glass domes or covers that came with the fixture. Check that they are fitted snugly and securely.
For pendant lights or chandeliers, make any height adjustments to the chain, cords, or rods now so the fixture hangs at the desired level. Get it looking just right!
Step 8: Restore Power and Test
Head back to the breaker box and flip the switch to restore power to the ceiling light. Flip the light switch on to make sure your new fixture illuminates!
If it doesn’t turn on, carefully check all the wire connections and make sure everything is connected properly. If it still doesn’t work, call an electrician to take a look.
Step 9: Installation Complete!
Once you’ve confirmed that your new ceiling light is ready to brighten up the room, you can officially call this DIY electrical project a success! Bask in the satisfaction of a job well done.
Not only will you save money by installing it yourself, but also you’ll gain the confidence to tackle more home electrical projects in the future. Just take it one light fixture at a time!
Disclaimer: It’s wonderful that online tutorials and articles can teach us so much about home improvement projects. However, it’s important to keep in mind that electrical work can be dangerous if not done properly. While informational resources are helpful for learning, it’s best to connect with licensed electricians when it comes to actually installing lighting, wiring, and other electrical tasks in your home.
Frequently Asked Questions:
What tools will I need to install a ceiling light?
A basic toolkit includes a screwdriver, wire strippers, wire nuts, ladder, headlamp, and non-contact voltage tester.
How do I know if my electrical box can support a new ceiling fixture?
Most standard electrical boxes can support lights up to 50 pounds. Heavier chandeliers or pendant lights may require replacing the box with one rated for ceiling fans.
Can I install recessed lighting in the ceiling?
Yes, but the installation process is more complex. Recessed lights require cutting holes in the ceiling and wiring inside wall cavities. We recommend hiring an electrician for this type of project.
The Bottom Line:
Installing overhead lighting can be an easy DIY endeavour with the right safety precautions. Just take your time, follow instructions carefully, and be bold and call a professional if anything seems unsafe or too complicated. Soon, your home will glow with beautiful new lighting that you installed yourself!
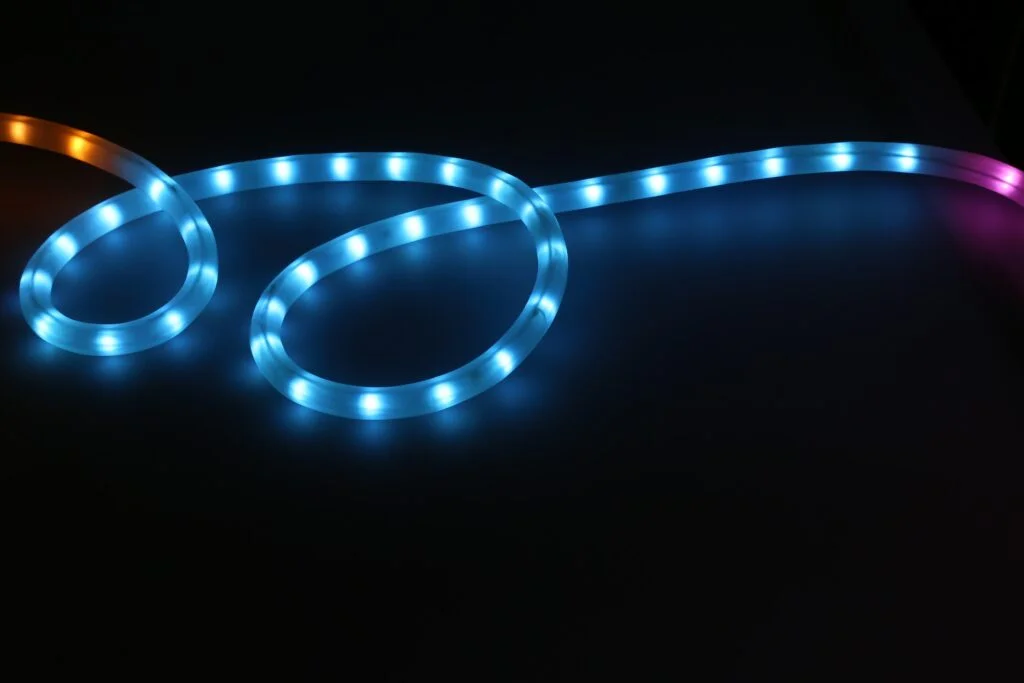
When it comes to illuminating your spaces, LED strip lights are a game-changer. They're flexible, energy-efficient, and can create just about any mood you desire. But here's a question that's been lighting up the minds of many: Can you cut LED strip lights? The answer is a resounding yes! But hold on, don't grab those…
LED lights – the beacons of the future, the shining saviours of our energy bills. Their promise of a long lifespan has lit up the hearts of many homeowners and environmentalists alike. But how long exactly do these luminous wonders last? Let's shine a light on this burning question. How Long Do LED Lights Last?…
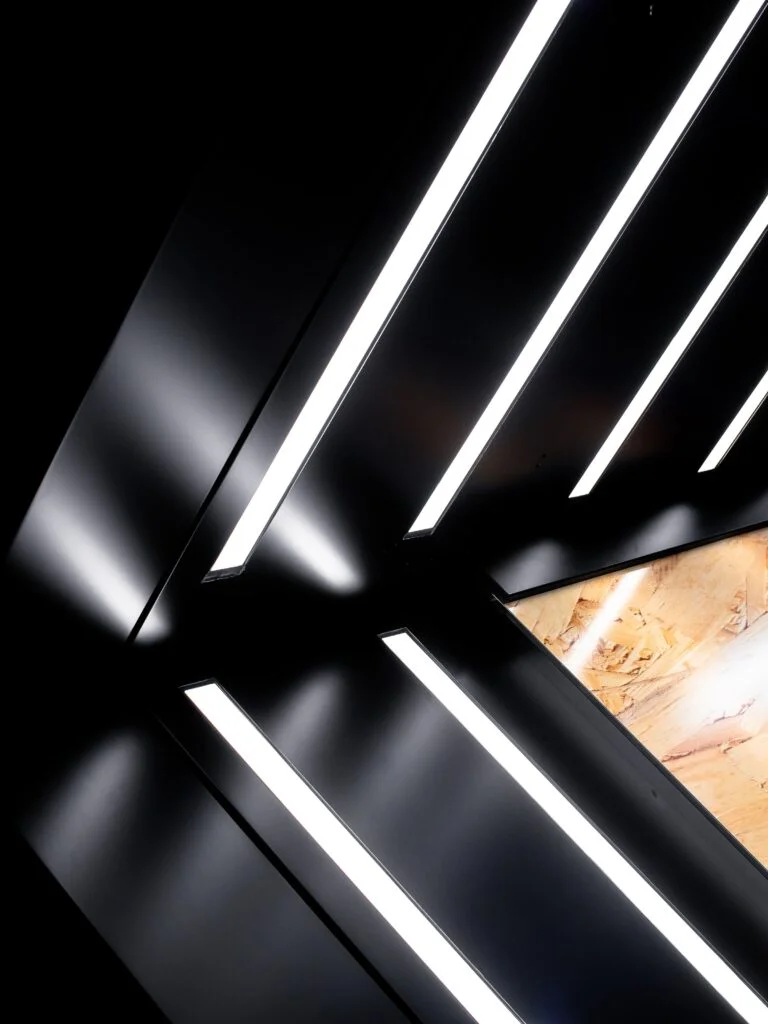
LED, or light emitting diode, lights are one of the most energy-efficient and long-lasting lighting technologies available today. But how do LED lights work? Here is a comprehensive guide to understanding LED lighting. What is an LED? An LED is a semiconductor device that emits light when an electric current passes through it. The light…