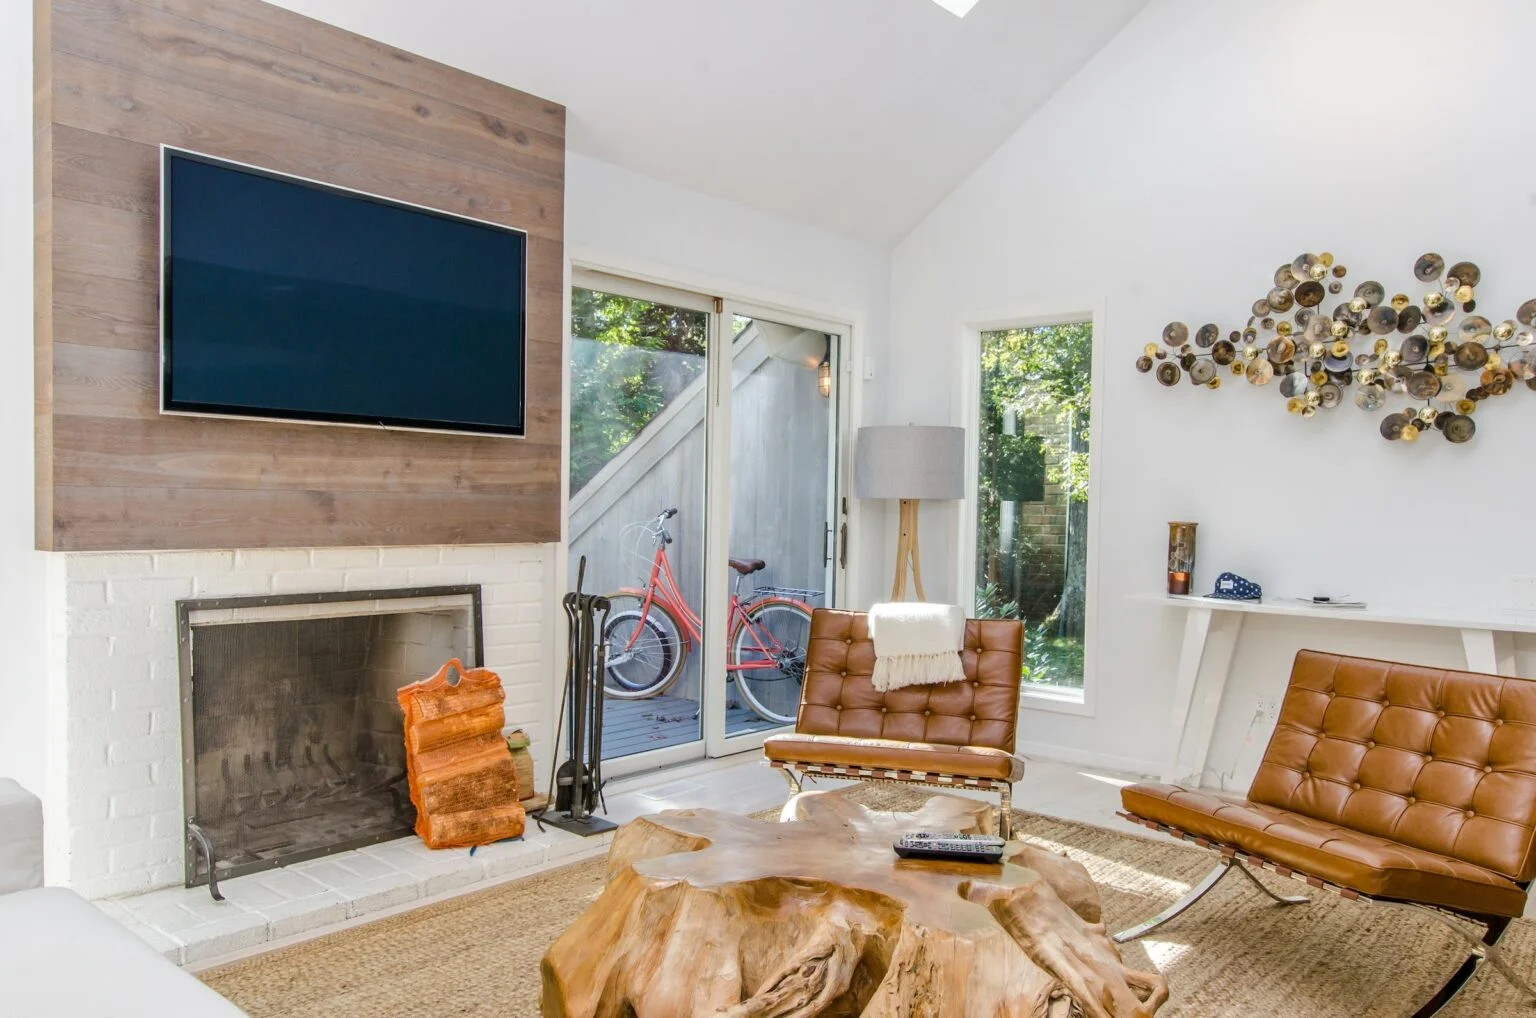
Installing a TV wall mount can seem intimidating, but it’s actually a straightforward DIY project that anyone can tackle with the right tools and preparation. Mounting your TV on the wall frees up space and creates a sleek, modern look in your home. Follow this step-by-step guide to learn how to install a TV wall mount safely and securely.
Choose the Right Mount for Your TV
The first step is selecting the proper wall mount for your television. Check the back of your TV for the VESA mounting pattern, which will specify the horizontal and vertical measurements for screw placement. Purchase a mount designed for your TV’s size and VESA pattern. Mounts are available in fixed, tilting, articulated arm, and full motion styles.
Consider the following when choosing a mount:
Weight capacity – Select a mount rated for your TV’s weight. This info is in your TV manual.
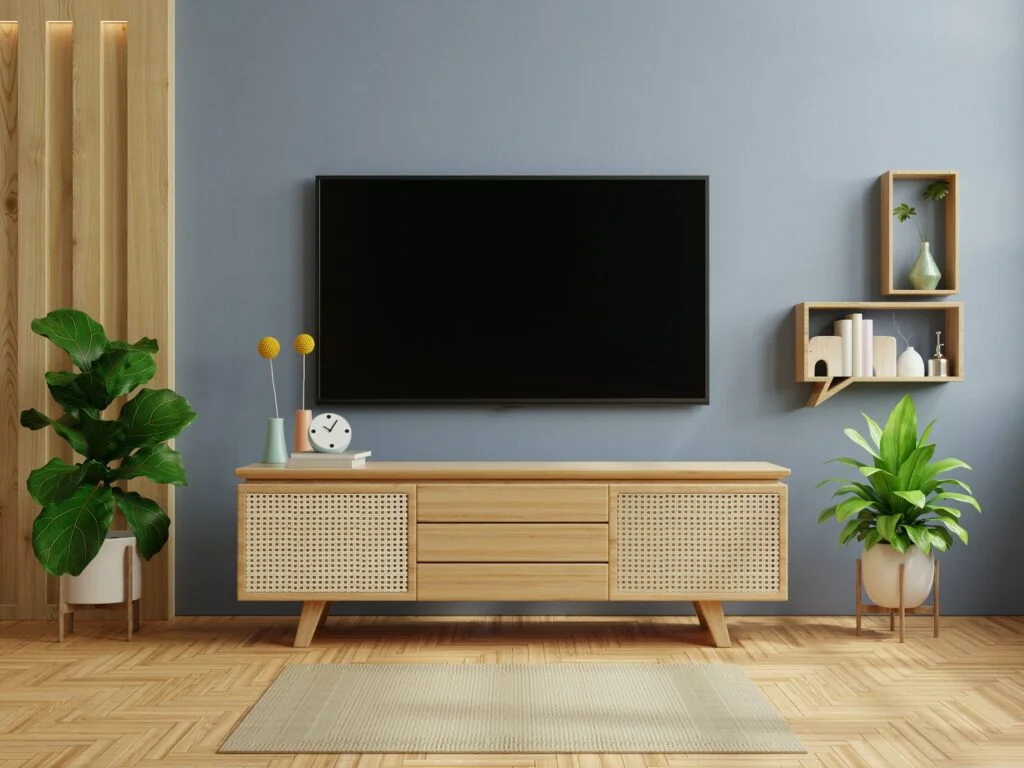
Mounting location – Measure the wall space to ensure adequate room for the mount and TV.
Viewing needs – Tilting or articulated mounts allow repositioning.
Budget – Prices range from $20 for basic mounts to $200+ for full motion.
How to Install a TV Wall Mount:
Gather the Proper Tools
Installing a TV wall mount requires the following tools:
Stud finder
Level
Drill and drill bits
Wrench set
Screwdrivers
Cable management system
You’ll also need the hardware that came with your wall mount, which normally includes lag bolts and washers for mounting to the wall.
Find the Wall Studs
The mount must be securely attached to the wall studs and the wood beams inside your wall. Use a stud finder to locate the exact position of the studs in your desired mounting area. Mark the stud locations with a pencil.
The mount will attach to at least two studs horizontally for proper support. If the studs aren’t spaced correctly for your mount, you may need to use wood blocking between the studs.
Mark the Mounting Points
With the studs marked, hold the mount up to the wall in the desired position. Level it and mark the locations of the mounting holes with a pencil.
Use a level often during this process to ensure your TV will be straight. No one wants a crooked television!
Drill Pilot Holes
Drill pilot holes at the marked locations using a drill bit slightly smaller than your lag bolts. Drilling pilot holes prevents cracking or splitting of the wood when you insert the screws.
If you hit a stud where expected, drill the pilot hole 2-3 inches deep. If not, stop drilling and try a new spot. Only drill into studs to securely support the TV’s weight.
Attach the Wall Mount
With the pilot holes drilled, position the mount again and insert the lag bolts with washers through the mounting holes into the wood studs. Tighten them with a wrench until snug.
Don’t overtighten, or you may strip the wood. The mount should now be firmly fixed to the wall and ready for the TV.
Mount the TV
Now for the exciting part! Take your TV and, with a helper, lift it into position on the wall mount. Insert the provided screws through the holes on the back of the TV into the appropriate slots on the mount. Tighten the screws securely with a screwdriver.
Safety first – be sure to always lift with your legs and use caution when mounting heavy televisions. You don’t want any injuries!
Manage Cables
Once your TV is mounted, the last step is cord management. Use cable ties, clips, channels, or another cable management system to neatly organize any cords hanging down from the TV.
It finishes off the clean, streamlined look and keeps cords safely out of the way.
Enjoy Your New Wall Mount!
That’s it – you’ve successfully installed your new TV wall mount! Sit back and enjoy the sleek, modern look and enhanced viewing experience.
Key things to remember when installing a TV wall mount:
Use the correct mount for your TV’s VESA pattern and weight
Securely attach the mount to wall studs
Use a level often to ensure the mount is even
Neatly organize cords after installing
With the right tools and preparation, mounting a TV is a straightforward DIY weekend project. Follow these steps, and soon, you’ll enjoy your perfectly wall-mounted television.
Frequently Asked Questions:
What if I can’t find studs in the right spot?
You can use plywood blocking secured between studs to create mounting points. But it’s best to locate actual studs, if possible, for maximum strength.
What size drill bit should I use?
For pilot holes, use a bit slightly smaller than your mounting screws/lag bolts. This prevents cracking the wood.
What’s the best height to mount the TV?
Mount your TV so the center is at eye-level when seated. A typical range is 50-60 inches from the floor to the center of the TV.
The Bottom Line:
Installing a TV wall mount is a straightforward DIY project that anyone can complete with the right tools and preparation. By securely mounting your TV to the wall, you can free up space and create a modern, streamlined look in your home. Following the step-by-step instructions, including finding the studs, drilling pilot holes, and safely lifting the TV, will lead to a successful wall mount installation. With a sleek mounted TV, neatly organized cords, and proper height adjustment, you can enjoy an enhanced viewing experience. Take the time to install your TV wall mount properly; soon, you will enjoy your perfectly positioned television.
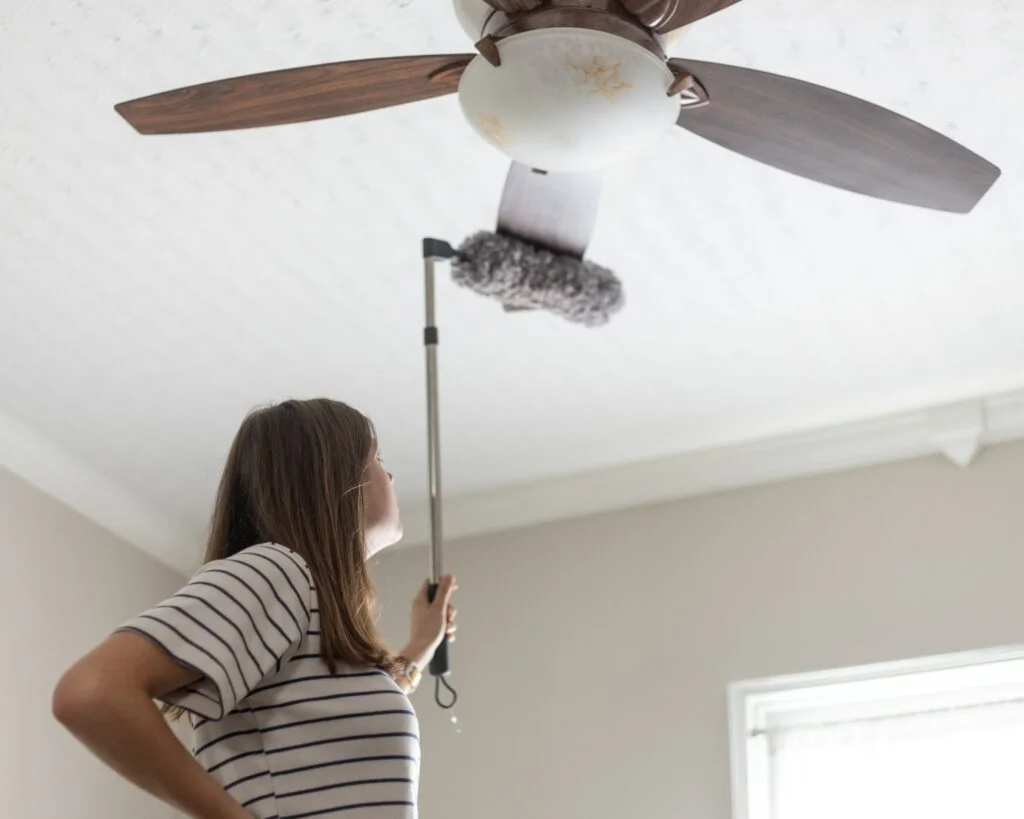
Ceiling fans are a staple in most homes, providing a cooling breeze on hot days and circulating air to prevent stagnation. But with all that spinning, ceiling fans inevitably collect dust, dirt, and grime. Properly cleaning ceiling fans is essential for your home's air quality and your family's health. When dust builds up on the…
Picture this: it's the middle of the night, and you're jolted awake by the incessant chirping of your smoke alarm. You know it's time to change the battery, but you're unsure how to do it. Fear not; this engaging and in-depth guide will teach you how to change smoke alarm battery like a pro. The…
Imagine a world where your hot water system does more than just heat water; it redefines efficiency. That's the realm of the heat pump hot water system. It's like having a bit of futuristic magic in your home, but it's all grounded in the practical science of energy efficiency. So, let's find out what is…