How to Wire a Trailer Plug: A Comprehensive Guide for Australian DIYers
As an avid caravanner and DIY enthusiast, I’ve had my fair share of experiences with trailer wiring. Whether preparing for your first camping trip or simply replacing an old plug, knowing how to wire a trailer plug is an essential skill for any Australian who loves the great outdoors.
In this guide, I’ll walk you through the process step-by-step, sharing some personal insights and tips.
Understanding Trailer Plug Types in Australia
Before we dive into the wiring process, it’s crucial to understand the different types of trailer plugs commonly used in Australia. The most common types are:
7-pin flat (12N)
7-pin round (12S)
12-pin flat
In my experience, the 7-pin flat (12N) is the most widely used for standard trailers and caravans. However, larger caravans or trailers with additional features may require a 12-pin flat connector.
The Importance of Proper Wiring
Proper wiring of trailer lights is crucial for legal compliance and road safety in Australia. According to NSW Government regulations, towing a trailer without properly functioning lights is illegal. This requirement ensures the safety of all road users.
While specific statistics on accidents caused by faulty trailer wiring are not provided in the search results, it’s clear that proper lighting is essential for safe towing. Functioning lights on a trailer allow other drivers to see your vehicle’s size and intentions, such as braking or turning, which is particularly important when towing increases your vehicle’s length and affects its maneuverability.
The NSW Centre for Road Safety emphasizes caravan safety’s importance, including proper electrical connections. It underscores that correct wiring is not just about legal compliance but is a critical factor in maintaining safety on Australian roads for all users.
How to Wire a Trailer Plug:
Wiring a trailer plug is a crucial skill for any Australian who enjoys caravanning, boating, or simply needs to tow a trailer. Proper wiring ensures safety on the road and compliance with Australian regulations. Let’s dive into the details of this essential process.
Tools and Materials You’ll Need
Before starting, gather the following:
Trailer plug (7-pin flat, 7-pin round, or 12-pin flat)
Wire strippers
Electrical tape
Multimeter
Soldering iron and lead-free solder (optional but recommended)
Heat shrink tubing
Crimping tool and crimp connectors (alternative to soldering)
Dielectric grease
Safety glasses
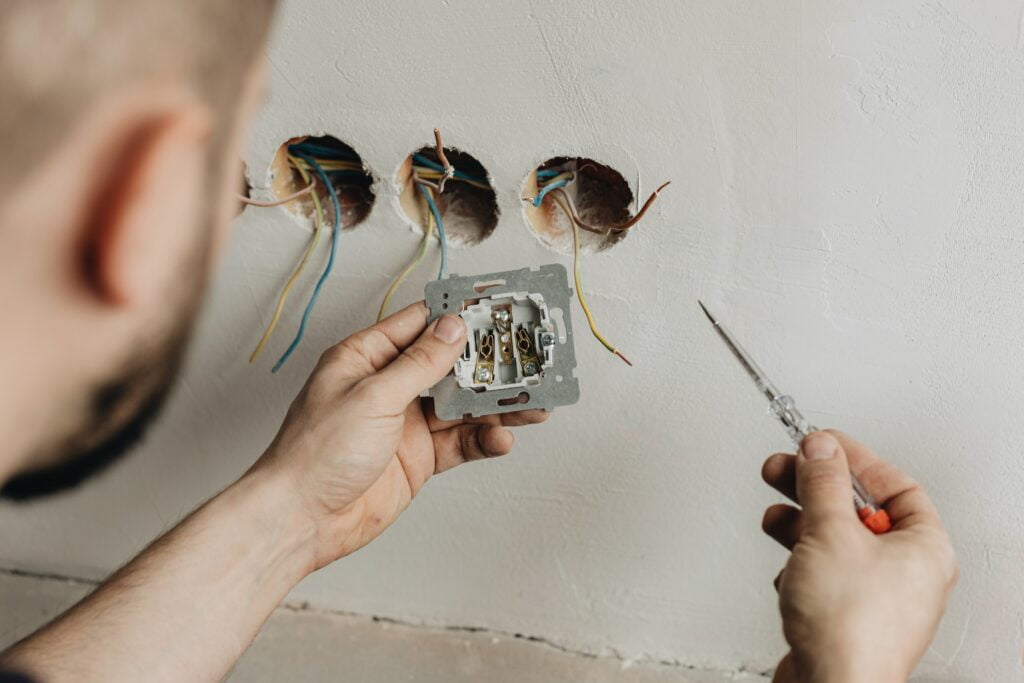
Step 1: Identify the Wires
In Australia, the standard colour coding for 7-pin flat plugs is as follows:
Yellow: Left indicator
Green: Right indicator
Red: Stoplights
Brown: Tail lights
Black: Reversing lights
Blue: Electric brakes
White: Earth (ground)
It’s worth noting that while this is the standard, some older trailers or imported models might have different colour schemes. If you’re unsure, always verify the function of each wire using a multimeter.
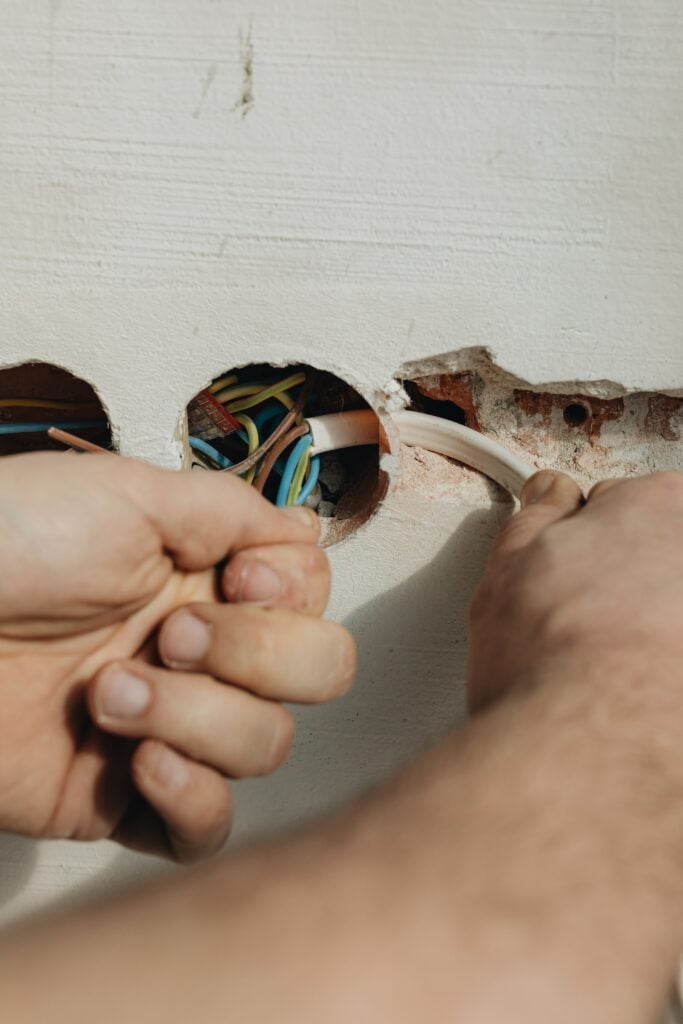
Step 2: Strip the Wires
Using your wire strippers, carefully remove about 10mm of insulation from the end of each wire. This measurement is crucial – too little, and you won’t have enough exposed wire for a secure connection; too much, and you risk short circuits.
Australian Standard AS/NZS 3000:2018 (Wiring Rules) recommends maintaining the integrity of the conductor when stripping wires. Be careful not to nick or damage the copper strands inside.
Step 3: Connect the Wires to the Plug
This step requires precision and attention to detail:
Insert each stripped wire into its corresponding terminal.
Ensure the copper strands are fully inserted and do not stick out.
Tighten the terminal screws securely, typically to a torque of about 0.8-1.2 Nm (check your specific plug’s instructions).
Pro tip: Give each wire a gentle tug after tightening to ensure it’s properly secured. This simple test can prevent loose connections that might cause issues.
Step 4: Solder the Connections (Optional but Recommended)
While not mandatory, soldering provides a more reliable and durable connection. Here’s how to do it properly:
Clean the soldering iron tip and “tin” it with a small amount of solder.
Heat the wire and terminal junction.
Apply lead-free solder to the heated area, allowing it to flow into the connection.
Let the solder cool naturally – don’t blow on it, as this can create weak spots.
Step 5: Insulate the Connections
Proper insulation is crucial, especially given Australia’s diverse climate conditions:
Slip a piece of heat shrink tubing over each connection. Choose tubing with a shrink ratio of at least 3:1 for better sealing.
Use a heat gun to shrink the tubing, ensuring a tight seal. Maintain a 5-10cm distance and move the heat gun constantly to avoid overheating.
Step 6: Test the Connections
Testing is critical for safety and functionality:
Connect the trailer plug to your vehicle.
Turn on your vehicle and test each function (indicators, brake lights, etc.).
Use a multimeter to check for continuity if any function isn’t working. Set the multimeter to the continuity or resistance (Ω) setting.
But you know the best way?
Call us at MC Electricals, and we’ll have it for you in a jiffy.
Common Mistakes to Avoid When Wiring a Trailer Plug
In my years of experience, I’ve seen (and made) a few common mistakes when wiring trailer plugs:
Mixing up the indicator wires: Always double-check that yellow is left and green is right.
Forgetting to ground: The white earth wire is crucial for the circuit to function.
Loose connections: Ensure all terminal screws are tight.
Neglecting waterproofing: Australian weather can be harsh, so make sure your connections are well-insulated.
Maintaining Your Trailer Plug
Once you’ve successfully wired your trailer plug, regular maintenance can help ensure its longevity. I make it a habit to:
Check connections before each trip
Clean the plug contacts regularly
Apply dielectric grease to prevent corrosion
The Bottom Line:
In conclusion, wiring a trailer plug might seem daunting initially, but with patience and attention to detail, it’s a skill that any Australian DIY enthusiast can master. Remember, proper wiring is not just about convenience but safety for you and everyone else on the road. So take your time, double-check your work, and happy towing!
Frequently Asked Questions:
Can I wire a trailer plug myself, or should I hire a professional?
With the right tools and knowledge, wiring a trailer plug is a manageable DIY task. However, if you’re unsure, it’s always best to consult a professional.
What if my trailer has a different plug type than my vehicle?
You can use an adapter to connect different plug types. However, ensure the adapter is compatible and rated for your trailer’s electrical load.
Ah, electricity! The awe-inspiring, life-changing, and sometimes hair-raising force that powers our modern world. Can you even imagine a world without it? No Netflix, smartphones, or late-night snacks heated in the microwave. But with great power comes great responsibility, and that's where electrical maintenance comes into play. You see, electricity might be the lifeblood of…
Before you plunge into the sea of knowledge that awaits, let's address the elephant in the room - why on earth should you care about parallel versus series batteries? Well, it's not just about powering your remote control or keeping your smartphone alive. In all their different forms, batteries are the unsung heroes underpinning our…
Oh, the shock and awe of electrical wiring! From being the unsung heroes behind the scenes, these wiry wonders have become essential to our everyday lives. But how much do we really know about electrical wiring? Do we fully appreciate the brilliance behind these electrical veins coursing through our homes and offices, carrying the lifeblood of electricity? Let's dive…